Feeds:
Posts
Comments

Archive for the ‘Altered Art’ Category

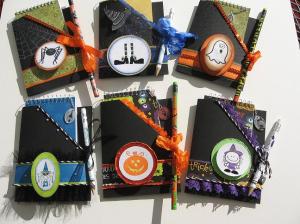
I’ve been a busy gal lately as I’ve been working on 7 different Halloween treats and bags for our 7 grandchildren.  I still have one more go to, but that should be finished later today.  In the meantime, I thought I would share the projects that I’ve finished thus far.

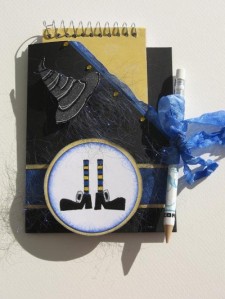
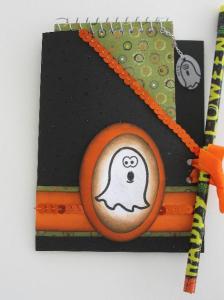
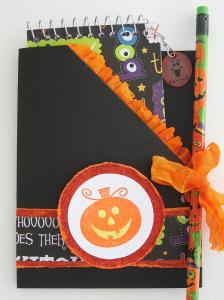
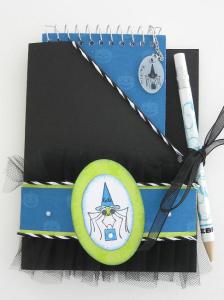
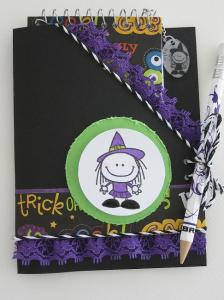
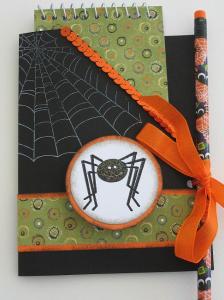
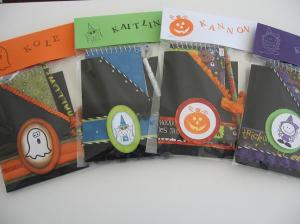
Given the fact that they will all receive more than enough candy, I decided to make gifts that were non-food related.  In my search for ideas, I saw a video online that I used for inspiration, albeit the original design was for hot chocolate and a candy stir stick.  Using that as a jumping off spot, I made small covered notebooks along with a custom hang tag, a pencil and decorated folder.  As a side note, each focal point jiggles.  I made little “wiggly” elements that adhere to the back of each central image which gives movement and a little whimsy to them.  The “wiggly” elements are handmade using a 1″ circle punch, a bit of thin wire and Glossy Accents.  I really love how these turned out, as each one is unique and all are quite sparkly (even though that aspect doesn’t show up on my pics).  In addition, I made simple gift bags to present them to our special guys and gals.

So without further ado, here are the gifts I made for Halloween this year.

Halloween 6

Halloween 5

Halloween 1Halloween 4


Halloween 2


Halloween 3 Halloween 10


Halloween 9


I used a variety of supplies to make these gifts.  I’ll try to share that information below to the best of my recollection.

Supplies

Black card stock – Stampin’ Up!
Papers were from Stampin’ Up!, dollar bin at Target & Hobby Lobby
Twine from Hobby Lobby
Stickles – Black & Diamond
Iridescent Fibers from Little Black Dress
Orange Glitter – Martha Sterwart
Seam binding was died with Stampin’ Up! reinkers
Purple lace – JoAnn’s
Stamps from Stampin’ Up!, Michael’s dollar bin & Hobby Lobby
Sequin trim from Wal Mart
#2 pencils – Wal Mart
Mechanical pencils – JoAnn’s
Twinkling H20’s
Stampin’ Up! markers
White craft ink – Stampin’ Up!
Memento Tuxedo Black Ink
Tim Holtz Paper Distresser
Black Netting – Hobby Lobby
Shrink Plastic – Michael’s
Chain & jump rings – JoAnn’s
Liquid Mono Dual Glue (not sure that’s the name)
3M tape (1/4″ for tape guns)
Glue Dots
Glossy Accents
Corner Chomper
Crop-a-Dile
1″ circle punch – Stampin’ Up!

If you need any information on a specific product, feel free to contact me and I’ll do my best to check on the exact product I used.

Until next time, have a great weekend and God Bless!


Read Full Post »

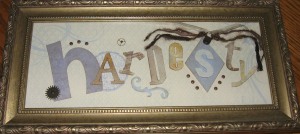
I’ve seen and made altered picture frames before.  Since this is a year of economic strife for most of us, along with my need to create something memorable, I decided to take the time and make these altered frames for 2 of our grown children and their spouses.  Our daughter in Colorado already has an altered frame I made their family a few years back.  I still owe our son, Greg, who lives in Italy one of these frames which I plan to complete and send for his birthday in June. 

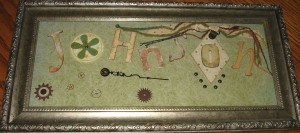
I started with a base of scrapbook paper, coordinating papers and bare chipboard letters.   I covered each letter with a different paper, added ink and sanded around the edges for a weathered look.  I used a scalpel rather than an Xacto to make the “fussy” cuts and I must say it worked so much easier (using a cutting mat underneath of course)   I thought using clock parts was apropos because spending time with family is something we treasure and don’t want to waste.  Adding ribbon and fibers is something that I need to do on almost all of my projects as I love the texture and look of ribbons, fibers and cording.  So without any further ado, here are the frames I designed for the Johnson and Hardesty families.

Johnson Frame

Hardesty Frame

Read Full Post »

Altered CD Tin

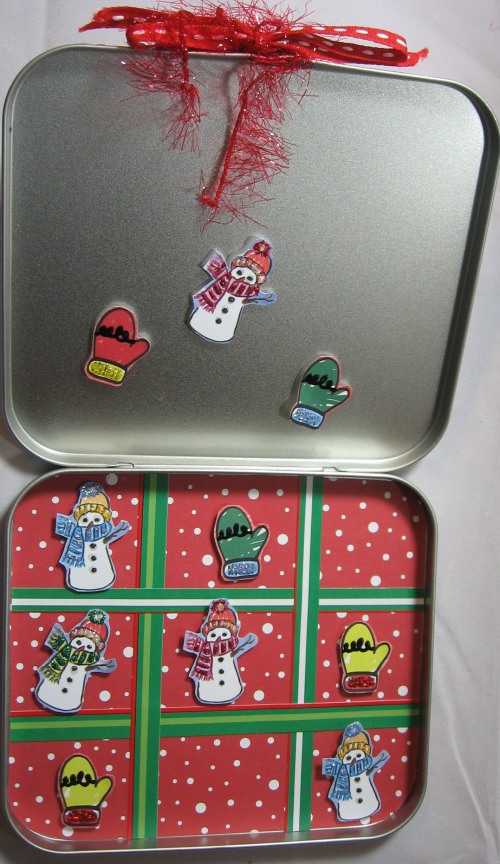
Altering objects, including tins, has grown in popularity over the past several years.  I wanted to do something different with a CD size tin, and this is the project I came up with.  I covered the top with scrapbook paper, stamped large letters on contrasting scrapbook paper, outlined them with a black souffle’ pen, cut them out and used pop dots to adhere the letters to the top of the tin.  One of the scrapbook papers had a lot of winter images on it so I cut them out, added Stickles and adhered them with pop dots as well.  The outer edge was embellished with ribbon, fiber and trim.  To create the game board I used scrapbook paper, again cut more of the images out & embellished the small mittens and snowmen.  I added small magnetic strips on the back to use for the “Tic Tac Snow” game.  It was easy to do once I decided on the theme.

outside-tic-tac-snow-box2inside-tic-tac-snow-box1

Read Full Post »